


How to take a screenshot on a Mac
Guide to Taking Screenshots on Mac
Screenshots are essential tools for saving what you see on-screen. Whether you need it for presentations, troubleshooting, or just for sharing something cool, Apple has integrated simple methods for screen capturing on Macs. Here’s your go-to guide:

1. Capture the Entire Screen
– Shortcut: `Command (⌘) + Shift + 3`
– Result: The full screen is captured and saved as an image file on your desktop.
2. Capture a Selected Portion of the Screen
– Shortcut: `Command + Shift + 4`
– Action: Drag the crosshair cursor to select the area you want.
– Tip: Press and hold the Spacebar after selecting a region to move your selected area around.

3. Capture a Specific Window
– Shortcut: `Command + Shift + 4` followed by `Spacebar`
– Action: Hover over the desired window (it will be highlighted) and click.
– Tip: Press `Option (⌥)` to exclude window border shadows in the screenshot.
4. Customized Screenshot Toolbar
– Shortcut: `Command + Shift + 5` or search for the screenshot tool via Spotlight.
– Features: This toolbar provides options like:
– Capture the entire screen.
– Capture a selected portion.
– Screen recording.
– Set a timer for screenshots.
– Choose a save location.
– And more!
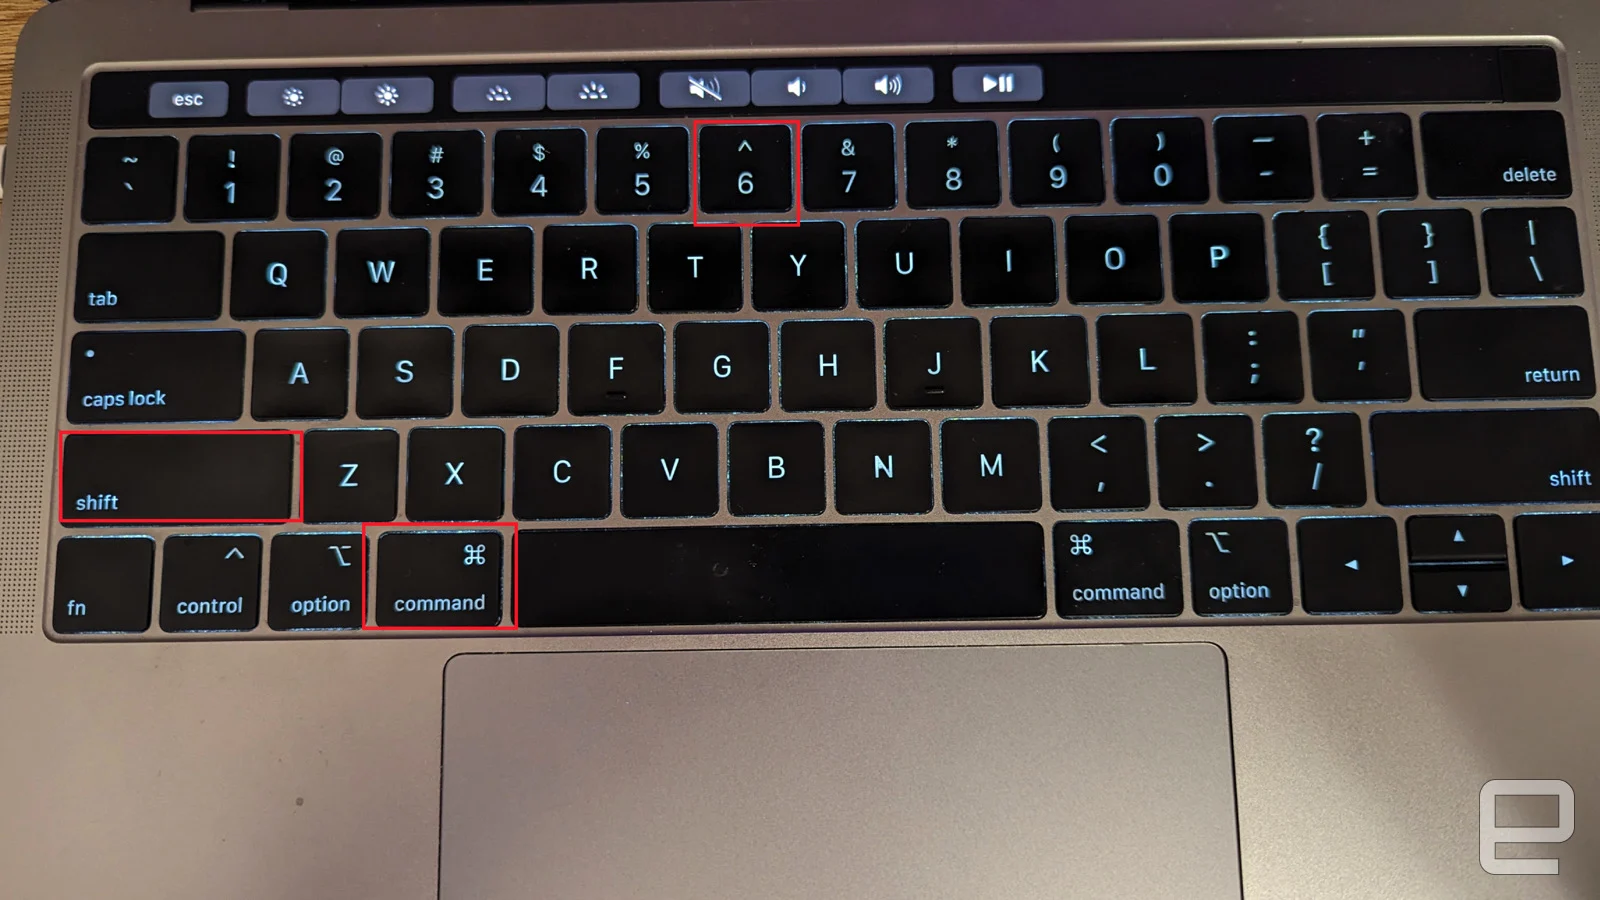
5. Capture the Touch Bar (For applicable MacBooks)
– Shortcut: `Command + Shift + 6`
– Result: This captures the current display of your Touch Bar.
Remember, once captured, the screenshots by default are saved on the desktop, but you can change this location from the screenshot toolbar’s options. This ease of screen capturing is one of the many features that make Macs user-friendly for both novices and tech enthusiasts.