
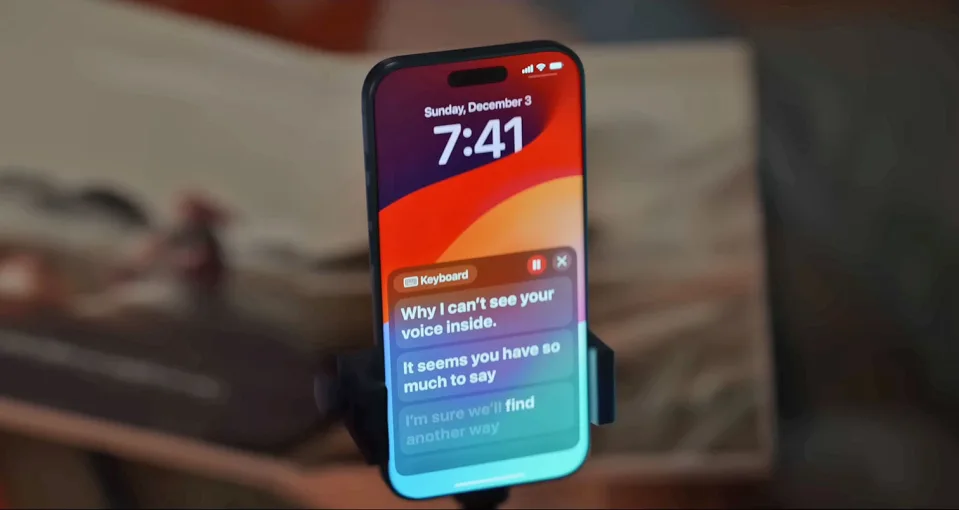
In anticipation of the International Day of Persons with Disabilities last Sunday, Apple unveiled a brief film spotlighting its recently introduced Personal Voice accessibility feature, which made its debut in iOS 17 earlier this year. Personal Voice empowers users to generate digital replicas of their voices for use in calls, supported applications, and Apple’s proprietary Live Speech tool.
For individuals facing the potential permanent loss of their voice due to conditions like Parkinson’s disease, multiple sclerosis, ALS, and vocal cord paralysis, not sounding like themselves can represent another layer of identity loss. The ability to craft a duplicate of one’s voice while still feasible might offer relief from the apprehension that they will never sound like themselves again, or that their loved ones won’t recognize their voice.
All users of iOS 17, iPadOS 17, and macOS Sonoma have the capability to create a personal voice, whether for temporary or long-term use in the future. Personally navigating through the process on my iPhone 14 Pro, I found it to be quite straightforward and was surprisingly content with the outcome. Here’s a guide on how you can establish your own Personal Voice, provided you’ve upgraded to iOS 17, iPadOS 17, or macOS Sonoma (on Macs with Apple Silicon).
Before commencing the procedure, ensure you allocate approximately 30 minutes. You will be prompted to record 150 sentences, and the duration may vary based on your speaking pace. Choose a tranquil setting with minimal ambient noise and make yourself comfortable. It’s advisable to have a cup of water within reach and ensure that your phone has a minimum battery level of 30 percent.
How to set up Personal Voice on iPhone
When you are prepared, navigate to the Personal Voice menu by opening Settings and locating Accessibility > Personal Voice (under Speech). Choose “Create A Personal Voice,” and Apple will provide you with an overview of the upcoming steps. Click on Continue, and you will be presented with instructions such as “Find a quiet place” and “Take your time.”
Crucially, one of the recommendations is to “Speak naturally.” Apple encourages users to “read aloud at a consistent volume, as if you’re having a conversation.” Once you tap Continue on this page, there is a final step where your phone utilizes its microphone to assess the background noise level before you can begin reading the prompts.
The interface for the recording process is quite user-friendly. Press the prominent red record button at the bottom and articulate the words displayed in the middle of the page. Below the record button, you can opt for “Continuous Recording” or “Stop at each phrase.”
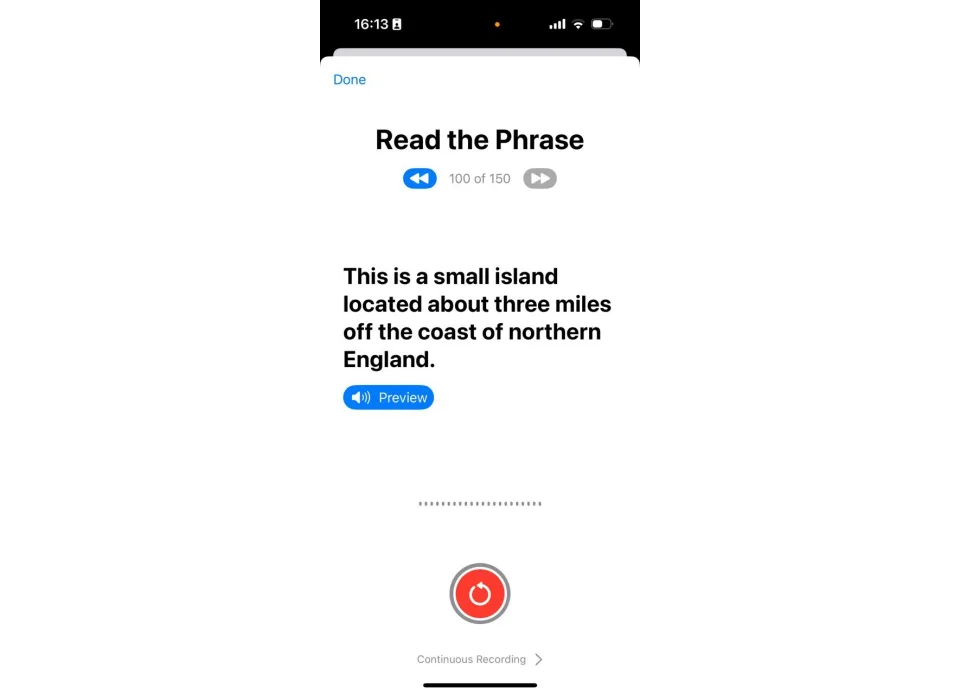
In the “Stop at each phrase” mode, you’ll need to tap a button after recording each phrase, whereas the “Continuous” mode offers a more hands-free approach, relying on the phone to detect when you’ve finished speaking. Individuals with speech impairments or those who read at a slower pace might find the continuous mode somewhat overwhelming. While it only occurred once in my experience, the iPhone attempting to move on to the next phrase before I was ready made me feel the need to react swiftly.
Personal Voice on iOS 17: First impressions
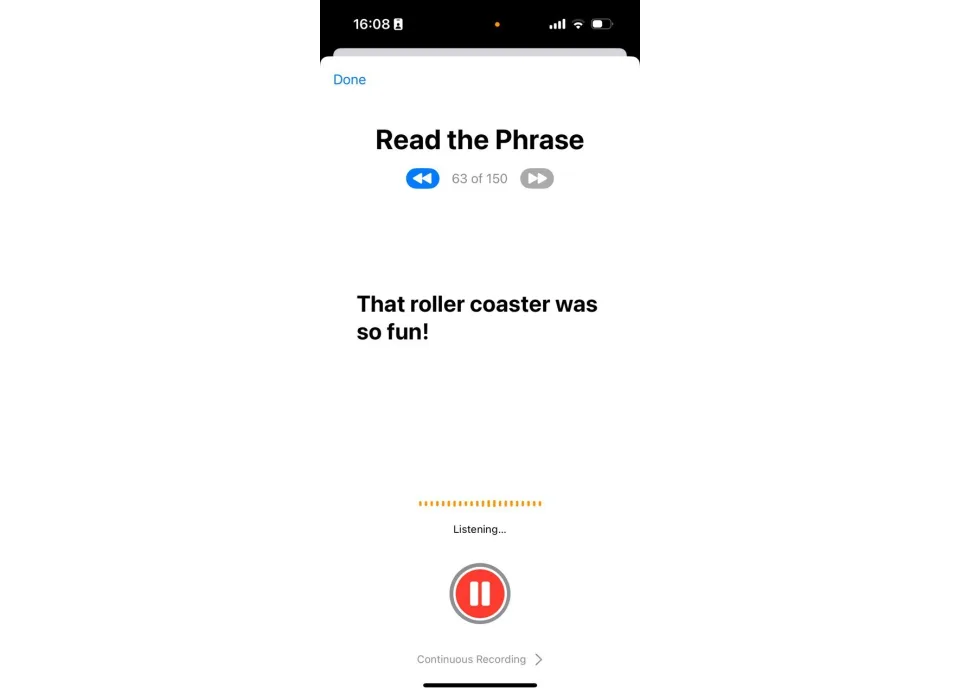
Nevertheless, the system generally proved adept at recognizing when I had finished speaking, allowing for a sufficient pause to tap the redo button before progressing to the next sentence. The prompts primarily encompassed historical and geographical information, occasionally featuring expressive exclamations. The phrases varied widely, from straightforward inquiries like “Can you ask them if they’re using that chair?” to assertive declarations such as “Come back inside right now!” or “Ouch! That is really hot!”
When faced with those specific sentences, I tended to adopt a more exaggerated delivery to avoid a robotic-sounding personal voice. Yet, it was during these moments that I grasped a fundamental challenge inherent in the process. Regardless of how convincingly I performed or emoted, there remained an unavoidable artificiality in the recordings. Even when attempting to genuinely convey reactions to something hot or painful, it fell short of capturing an authentic response. There’s certainly a distinction between my narration tone and the conversational tone I use with friends.
This isn’t a criticism directed at Apple or Personal Voice; rather, it’s an acknowledgment that there are inherent limitations in replicating my verbal expression. Upon completing all 150 sentences, Apple clarifies that the process “may need to complete overnight.” It advises users to charge and lock their iPhones, emphasizing that the Personal Voice “will be generated only while iPhone is charging and locked.” Users receive an alert when it’s ready for use. It’s important to highlight that during this period, Apple is training neural networks entirely on the device to create text-to-speech models, eschewing cloud-based processing.
During my testing, I observed that after 20 minutes of leaving my iPhone untouched, only 4 percent progress was achieved. Another twenty minutes later, the Personal Voice process had advanced to just 6 percent completion. Consequently, be prepared to dedicate several hours, if not an entire night, to this undertaking. If you’re unwilling to part with your device for an extended period, you can still use your phone; however, be aware that it will prolong the completion time.
Once your Personal Voice is prepared, you’ll receive a notification and can then navigate to settings to explore its functionality. On the same page where you initiated the creation process, you’ll find options to share your voice across devices and permit apps to request its usage. The former entails storing a copy of your voice in iCloud for utilization on your other devices. The data transfer is end-to-end encrypted, and the recordings are exclusively stored on the phone used for the creation, but you have the option to export your clips if you wish to retain a copy elsewhere.
How to listen to and use Personal Voice
You have the option to name your Personal Voice and create additional ones if desired (up to three can be generated). To listen to the voice you’ve crafted, return to the Speech section in accessibility settings, select Live Speech, activate it, choose your new creation under Voices, and triple-click your power button. Enter text into the box, click Send, and evaluate whether you are satisfied with the result or if you wish to create a new Personal Voice.
Initially, I felt that mine lacked expressiveness, especially when testing phrases like “How is the weather today?” However, after a few days, as I inputted statements like “Terrence is a monster,” it began to feel more like me. While still retaining a robotic quality, there was a subtle infusion of my personality in the voice, enough for my manager to recognize it was me playfully calling him names.
Given the heightened concerns surrounding deepfakes and AI-generated content, a touch of artificiality in a computer-generated voice might not be entirely undesirable. Avoiding the risk of someone using my phone to record my digital voice uttering statements I would never say in real life is crucial. Striking a delicate balance between providing individuals with a sense of self, enhancing accessibility, and navigating the constraints and considerations related to identity and technology is a challenging task, one that I appreciate Apple is at least attempting with Personal Voice.